Setup and run your app on Kubernetes locally in your system
I am a Software Engineer. I have worked with different languages like NodeJS and Python. I have keen interest in Backend Engineering, Cloud Native Technologies and System Architecture.
In this article, we will go through the installation of Kubernetes in your local system and run a simple nginx server via kubernetes.
We need to follow this process
Introduction to kubernetes
Install minikube locally
Run your first pod
Access kubernetes cluster via the Service
Run your pods via Deployment
Configure ClusterIP against Deployment
Use Ingress and attach Domain name
Introduction to Kubernetes
Kubernetes(also known as k8s) is an open-source container orchestration system for automating software deployment, scaling, and management. We're living in the era of containerisation, and Kubernetes has become the standard platform to deploy and manage containerized applications.
Kubernetes objects are persistent entities in the Kubernetes system. Kubernetes uses these entities to represent the state of your cluster.
Let's go over some objects of the Kubernetes system
Pod
A pod is the smallest deployable unit in Kubernetes. A pod can run one or more containers inside them. You should configure your pod in a way that only tightly coupled containers with internal dependencies should be inside one pod as every resource will be shared among the containers residing in a pod.
ReplicaSet
A ReplicaSet's purpose is to maintain a stable set of replica Pods running at any given time. As such, it is often used to guarantee the availability of a specified number of identical Pods.
Deployment
A Deployment provides declarative updates for Pods and Replicasets. Deployment defines the scale at which you want to run your application. You can define the desired state in deployment and the desired state will be reached from the actual state at a controlled rate(e.g., increase the replicas 3 to 4).
Service
A service is an abstraction over the pods, and essentially, the only interface the various application consumers interact with. As pods are replaced, their internal names and IPs might change. A service exposes a single machine name or IP address mapped to pods whose underlying names and numbers are unreliable. A service ensures that, to the outside network, everything appears to be unchanged.
Ingress
Ingress manages external access to the services in a cluster. It provides load balancing, SSL termination and name-based virtual hosting.

Let's go over the components of Kubernetes
Node
Kubernetes cluster runs one or multiple worker machines called nodes. You can think of it as a separate individual machine with memory and disk-space.
Control Plane
The responsibility of the control plane is to manage the state of worker nodes and the pods inside of them. The components of the control plane make decisions about clusters by detecting and responding to cluster events.
API Server exposes the Kubernetes API. The API server is the front end of the Kubernetes control plane. The API server exposes an HTTP API that lets end users, different parts of your cluster, and external components communicate with one another. The Kubernetes API lets you query and manipulates the state of API objects in Kubernetes (Pods, Namespaces, ConfigMaps, and Events). Most operations can be performed through the kubectl command-line interface which in turn uses the API. However, you can also access the API directly using REST calls.
Scheduler watches for newly created pods with no assigned nodes and selects a node for them to run on according to resource capacity and ensures that a worker node’s performance is within an appropriate threshold.
etcd is a highly-available key-value store that is used by Kubernetes to share information across the cluster.
controller-manager is making sure the shared state of Kubernetes is running as expected. The controller manager oversees various controllers which respond to events (e.g., if a node goes down).
Install Minikube locally
Before installing minikube in your local system please ensure that you have installed Docker in your system.
docker -v
You should see something like this in the log olutput.
Docker version 20.10.21, build baeda1f.
Let's run these commands to install minikube in ubuntu.
curl -LO https://storage.googleapis.com/minikube/releases/latest/minikube-linux-amd64
sudo install minikube-linux-amd64 /usr/local/bin/minikube
If you're running any other system please follow the minikube's official doc https://minikube.sigs.k8s.io/docs/start/
Let's start the minikube in our local
https://minikube.sigs.k8s.io/docs/start/
minikube comes with a built-in UI that you can open by just running this command
minikube dashboard
You should be seeing something like this.
Run your first pod
Let's create our first pod
In your k8s-project directory create the simple-pod.yaml file and add the following content to your file.
apiVersion: v1
kind: Pod
metadata:
  name: nginx
  labels:
      app: nginx
spec:
  containers:
  - name: nginx
    image: nginx:1.14.2
    ports:
    - containerPort: 80
According to the above configuration, nginx:1.14.2 image will be pulled from docker hub and one single pod with Nginx server will be running in your k8s-cluster. The pod exposes port 80 in your k8s-cluster.
Run the following command to deploy your pod in the Kubernetes cluster.
kubectl apply -f simple-pod.yml
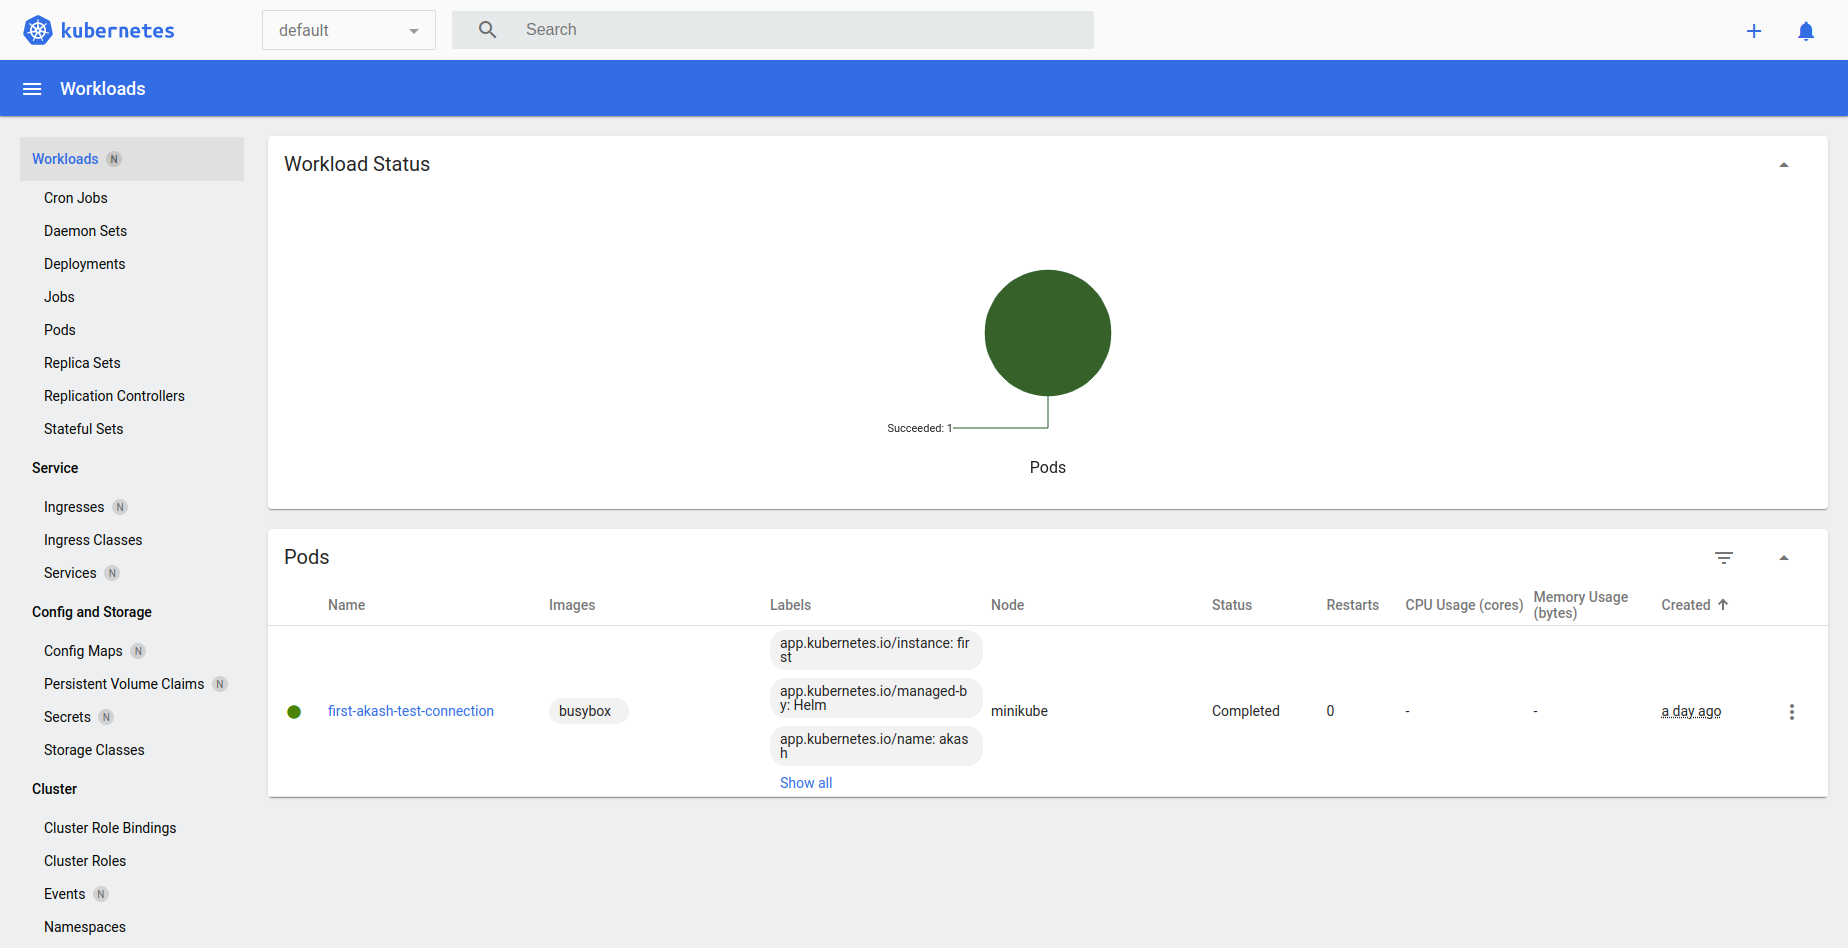
You can run this command to see the details of your running pods.
kubectl get pods
You can see this output in your shell.
NAME    READY   STATUS    RESTARTS   AGE
nginx   1/1     Running   0          5m57s
So, we succeeded to run your first pod. The simple-pod is running in k8s-cluster, we'll not be able to access it currently from outside of k8s-cluster. For accessing this pod, kubernetes services need to be configured.
Access kubernetes cluster via Service
There are different types of services:
ClusterIP: Internal clients send requests to a stable internal IP address.
NodePort: Clients send requests to the IP address of a node on one or more
nodePortvalues that are specified by the Service.LoadBalancer: Clients send requests to the IP address of a network load balancer.
ExternalName: Internal clients use the DNS name of a Service as an alias for an external DNS name.
Here we'll be using NodePort service for our simple pod. Let's create a file called simple-nodeport-service.yaml and add the following content to it.
apiVersion: v1
kind: Service
metadata:
 name: nginx-service
spec:
  type: NodePort
  selector:
    app: nginx
  ports:
    - protocol: TCP
      port: 3050
      targetPort: 80
      nodePort: 8080
In the above service-config file, you need to keep in mind the following
selectorneeds to match needs to be matched against thelabelsin the pod. The service will search for any pod with theapp: nginxlabels and the abstraction rule against it.targetPort: 80means any request to the pod will go to directly port 80.port: 3050is for internal communication i.e., any other pod inside the cluster can send the request to port3050and it will be redirected to port 80 in the nginx-podnodePort: 8080is for external communication i.e., you can access it from outside the cluster by sending the request on port8080and it will be redirected to port 80 in the nginx-pod
Now, let's deply the nodeport-service in the k8s-cluster.
kubectl apply -f simple-nodeport-service.yaml
Check your minikue's ip by running
minikube ip
You will get your mikube's ip like this
192.168.58.2
Then open this in your browser <minikube-ip>:8080(e.g., 192.168.58.2:8000). You should able to see nginx's default page in your browser.
Let's remove the pod from the cluster
kubectl delete pod nginx
Run your pods via Deployment
Deployments can help to efficiently scale the number of replica pods, enable the rollout of updated code in a controlled manner, or roll back to an earlier deployment version if necessary.
Let's create our first deployment file simple-deployment.yml and add the following content to it.
apiVersion: apps/v1
kind: Deployment
metadata:
  name: nginx-deployment
  labels:
    app: nginx
spec:
  replicas: 3
  selector:
    matchLabels:
      app: nginx
  template:
    metadata:
      labels:
        app: nginx
    spec:
      containers:
      - name: nginx
        image: nginx:1.14.2
        ports:
        - containerPort: 80
In this deployment,
We have added the same configuration as our pod inside the template section.
We have added
replicas: 3which should run 3 pods with the sametemplateconfiguration.Under
labelswe addedapp: nginx, so we can use the samenodeportservice we created earlier.
Let's deploy our deployment in Kubernetes cluster.
kubectl apply -f simple-deployment.yml
If you run the command kubectl get pods , you will see this kind of output in your shell.
NAME                                READY   STATUS    RESTARTS   AGE
nginx-deployment-7fb96c846b-crbcb   1/1     Running   0          15s
nginx-deployment-7fb96c846b-r8bhb   1/1     Running   0          15s
nginx-deployment-7fb96c846b-xt6mh   1/1     Running   0          15s
The deployment is able to launch 3 pods that are currently running on your k8s-cluster.
Now if you visit <minikube-ip>:8080 in your browser, you'll not able to see anything. To access this deployment from outside we need to redeploy our nodeport service again.
kubectl apply -f simple-nodeport-service.yaml
Now if you open <minikube-ip>:8080(e.g., 192.168.58.2:8000), you should able to see nginx's default page in your browser again.
Configure ClusterIP against Deployment
Nodeport service is suitable only for testing the public access of your app during development. By using ClusterIP we'll restrict access to k8s's internal clients.
Let's create a new YAML file simple-clusterip-service.yaml file and add the following into it
apiVersion: v1
kind: Service
metadata:
 name: nginx-clusterip-service
spec:
  type: ClusterIP
  selector:
    app: nginx
  ports:
    - protocol: TCP
      port: 3050
      targetPort: 80
Now let's delete the nodeport service we created earlier
kubectl delete service nginx-service
Now our ClusterIP service can access the Pods those are running through Deployment in k8s-cluster. But we can't access it from the outside.
Use Ingress and attach Domain name
For accessing our internal service(nginx-clusterip-service) from outside we need to add Ingress. Ingress exposes HTTP routes from outside the cluster to services within the cluster. Traffic routing is controlled by rules defined on the Ingress resource.
Let's create a simple-ingress.yaml file and add the following in the file.
apiVersion: networking.k8s.io/v1
kind: Ingress
metadata:
  name: simple-ingress
  namespace: default
spec:
  rules:
  - host: sample.com
    http:
      paths:
      - path: /
        pathType: Prefix
        backend:
          service:
            name: nginx-clusterip-service
            port:
              number: 3050
Ingress Controller
An ingress controller acts as a reverse proxy and load balancer. It converts configurations from Ingress resources into routing rules that reverse proxies can recognize and implement.
Now for the Ingress resource to work, the cluster must have an ingress controller running. To enable the Nginx ingress controller we need to run the following command in the terminal.
minikube addons enable ingress
Enable Domain Access locally
Let's enable the domain for our local system by adding the following in the /etc/hosts file in ubuntu.
<your minikube ip> sample.com
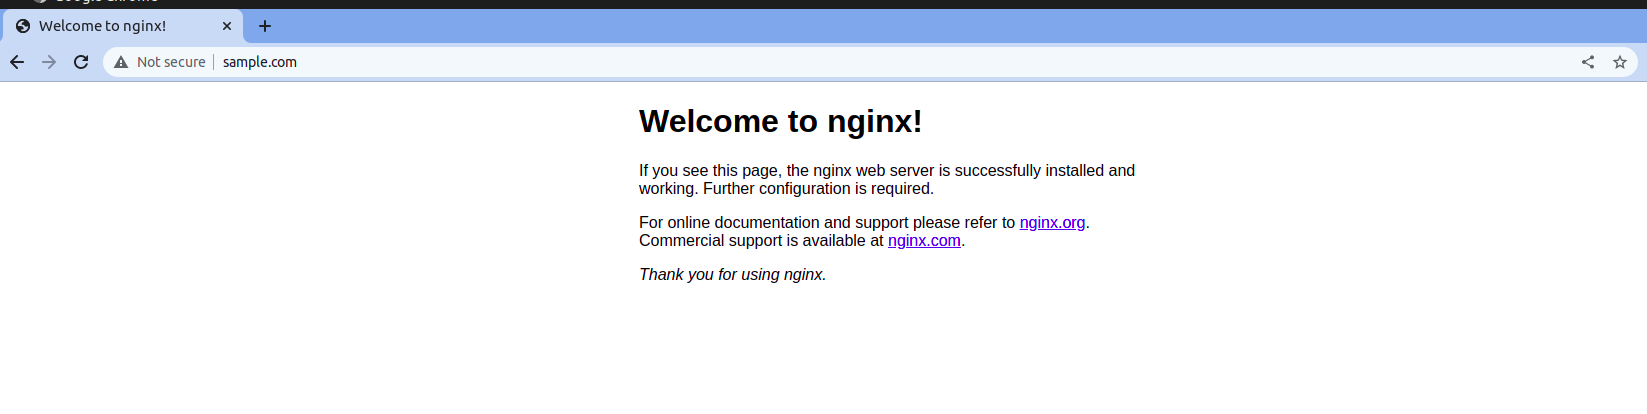
If you reached this far and can follow along with the instructions, then you should be able to open http://sample.com/ in your browser and see Nginx's default page.
That's it for this article. I hope you are able to learn some Kubernetes concepts from here. If you want to learn more about k8s, please visit the official documentation https://kubernetes.io/docs/home/.
GitHub-Link: https://github.com/ojhakash/simple-k8s-setup
Happy Learning!!